September What’s Cooking Recap with Recipes!

Missed this month’s cooking group? Forgot to grab your favorite recipe of the night? Well you are in luck, we have compiled the recipes from this month’s event! Try them out for yourself.

Quick Apple Dumplings

Ingredients:

2 pkg. crescent rolls

2 large apples (cut into 8th)

1 stick butter

1 cup sugar

1 tablespoon cinnamon

1 can Mt Dew (Not Diet)

Instructions:

  1. Roll each apple in crescent role triangle
  2. Place single layer in 9 x 13 pan
  3. Pour Mt Dew over rolled apples
  4. Crumble butter, sugar, and cinnamon together and sprinkle over rolls
  5. Bake 375 F for 35 minutes and serve warm with ice cream

Cathy’s Water Chestnuts

Gluten Free Single Crust Pie Dough

Ingredients:

Chestnuts:

3 cans whole water chestnuts

2 packages bacon (cut each package in half)


Sauce:

2 cups brown sugar

1 cup mayo

1 bottle chili sauce

Instructions:

  1. Wrap chestnut in 1 piece of bacon and secure with toothpick
  2. Bake at 400 F for 45 min – 1 hour until the bacon is done
  3. Heat sauce ingredients in a crockpot until melted
  4. Put water chestnuts in sauce and spoon some over the top to coat

Apple Baked Beans

Ingredients:

4 (16 oz) cans pork and beans

8 slices cooked bacon crumbled -> cook onion with bacon (if using)

2 granny smith apples – peeled, cored, and diced

1 1/3 cups BBQ sauce

1 cup brown sugar

1/4 cup raisins (optional)

1/2 – 1 cup chopped onions (optional)

Instructions:

  1. Preheat oven to 350 F
  2. Stir pork and beans, bacon, apples, BBQ sauce, brown sugar, and raisins together in a 9 x 13 baking dish
  3. Bake for 90 minutes.

Cinnamon Roll Apple Bake

Ingredients

1 can Pillsbury cinnamon rolls

21 oz apple pie filling

1/2 teaspoon ground cinnamon (optional)

Instructions:

  1. Preheat oven to 375 F. Grease a 2-quart baking dish with non-stick cooking spray
  2. Cut each cinnamon roll into 4 bite-sized pieces. In a mixing bowl, stir together the cut cinnamon rolls with the apple pie filling and ground cinnamon. Pour into the prepared baking dish
  3. Bake the cobbler at 375 F for 20-25 minutes until the tip is golden brown and the rolls are cooked through. Remove from the oven and spread the frosting from the cinnamon roll package over the top. Serve warm.

We hope you enjoyed this month’s What’s Cooking and don’t forget to join us for next month for a Halloween themed cooking event!

Crafting Fun: Watercolor Waterfalls

Hello, it’s Anna, your friendly neighborhood librarian! I’m here with another update on our Crafting Fun!

Monday afternoon we set out to create watercolor scenes based off a reference photo. With each brushstroke we stepped out of our comfort zones and tried something new. Even though this task seemed daunting, we pushed though and created some of the most beautiful peices of art! From the forested trees to the rushing waterfall, each artist captured the beauty of nature.

Enjoy these snapshots from the event and happy crafting!

Vernon County Reads Presents: Jeff Nania Recap

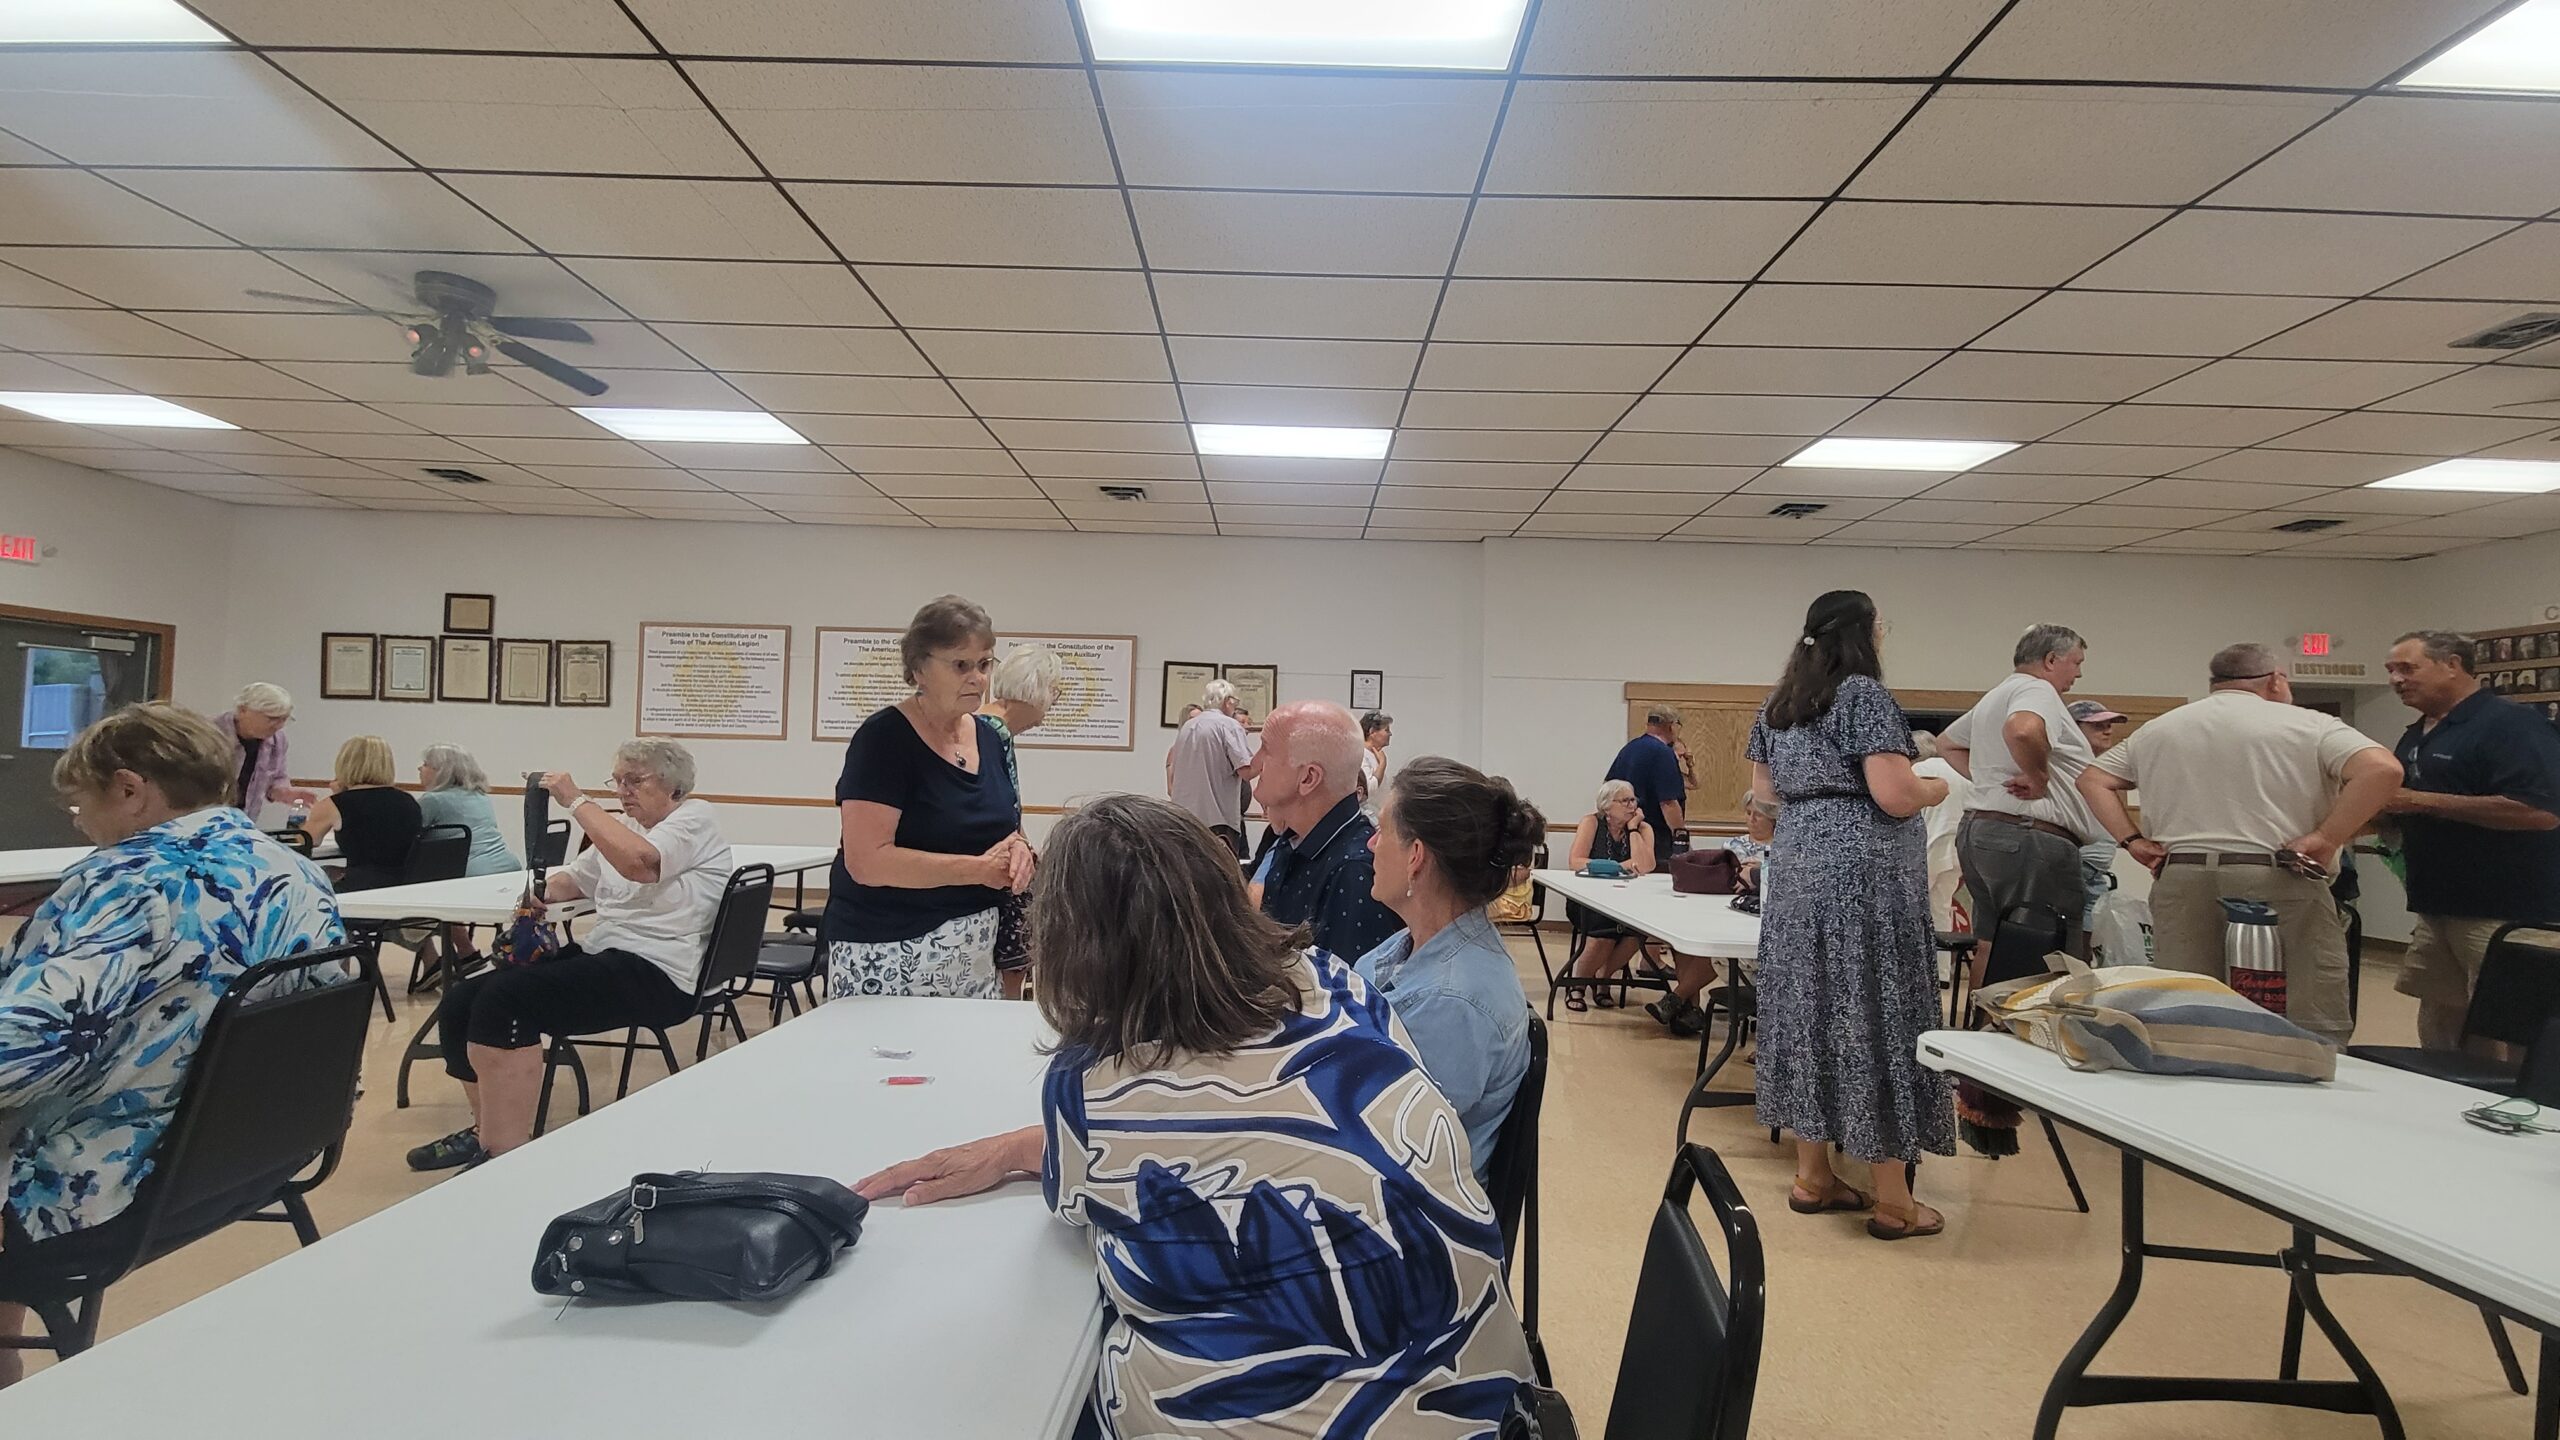
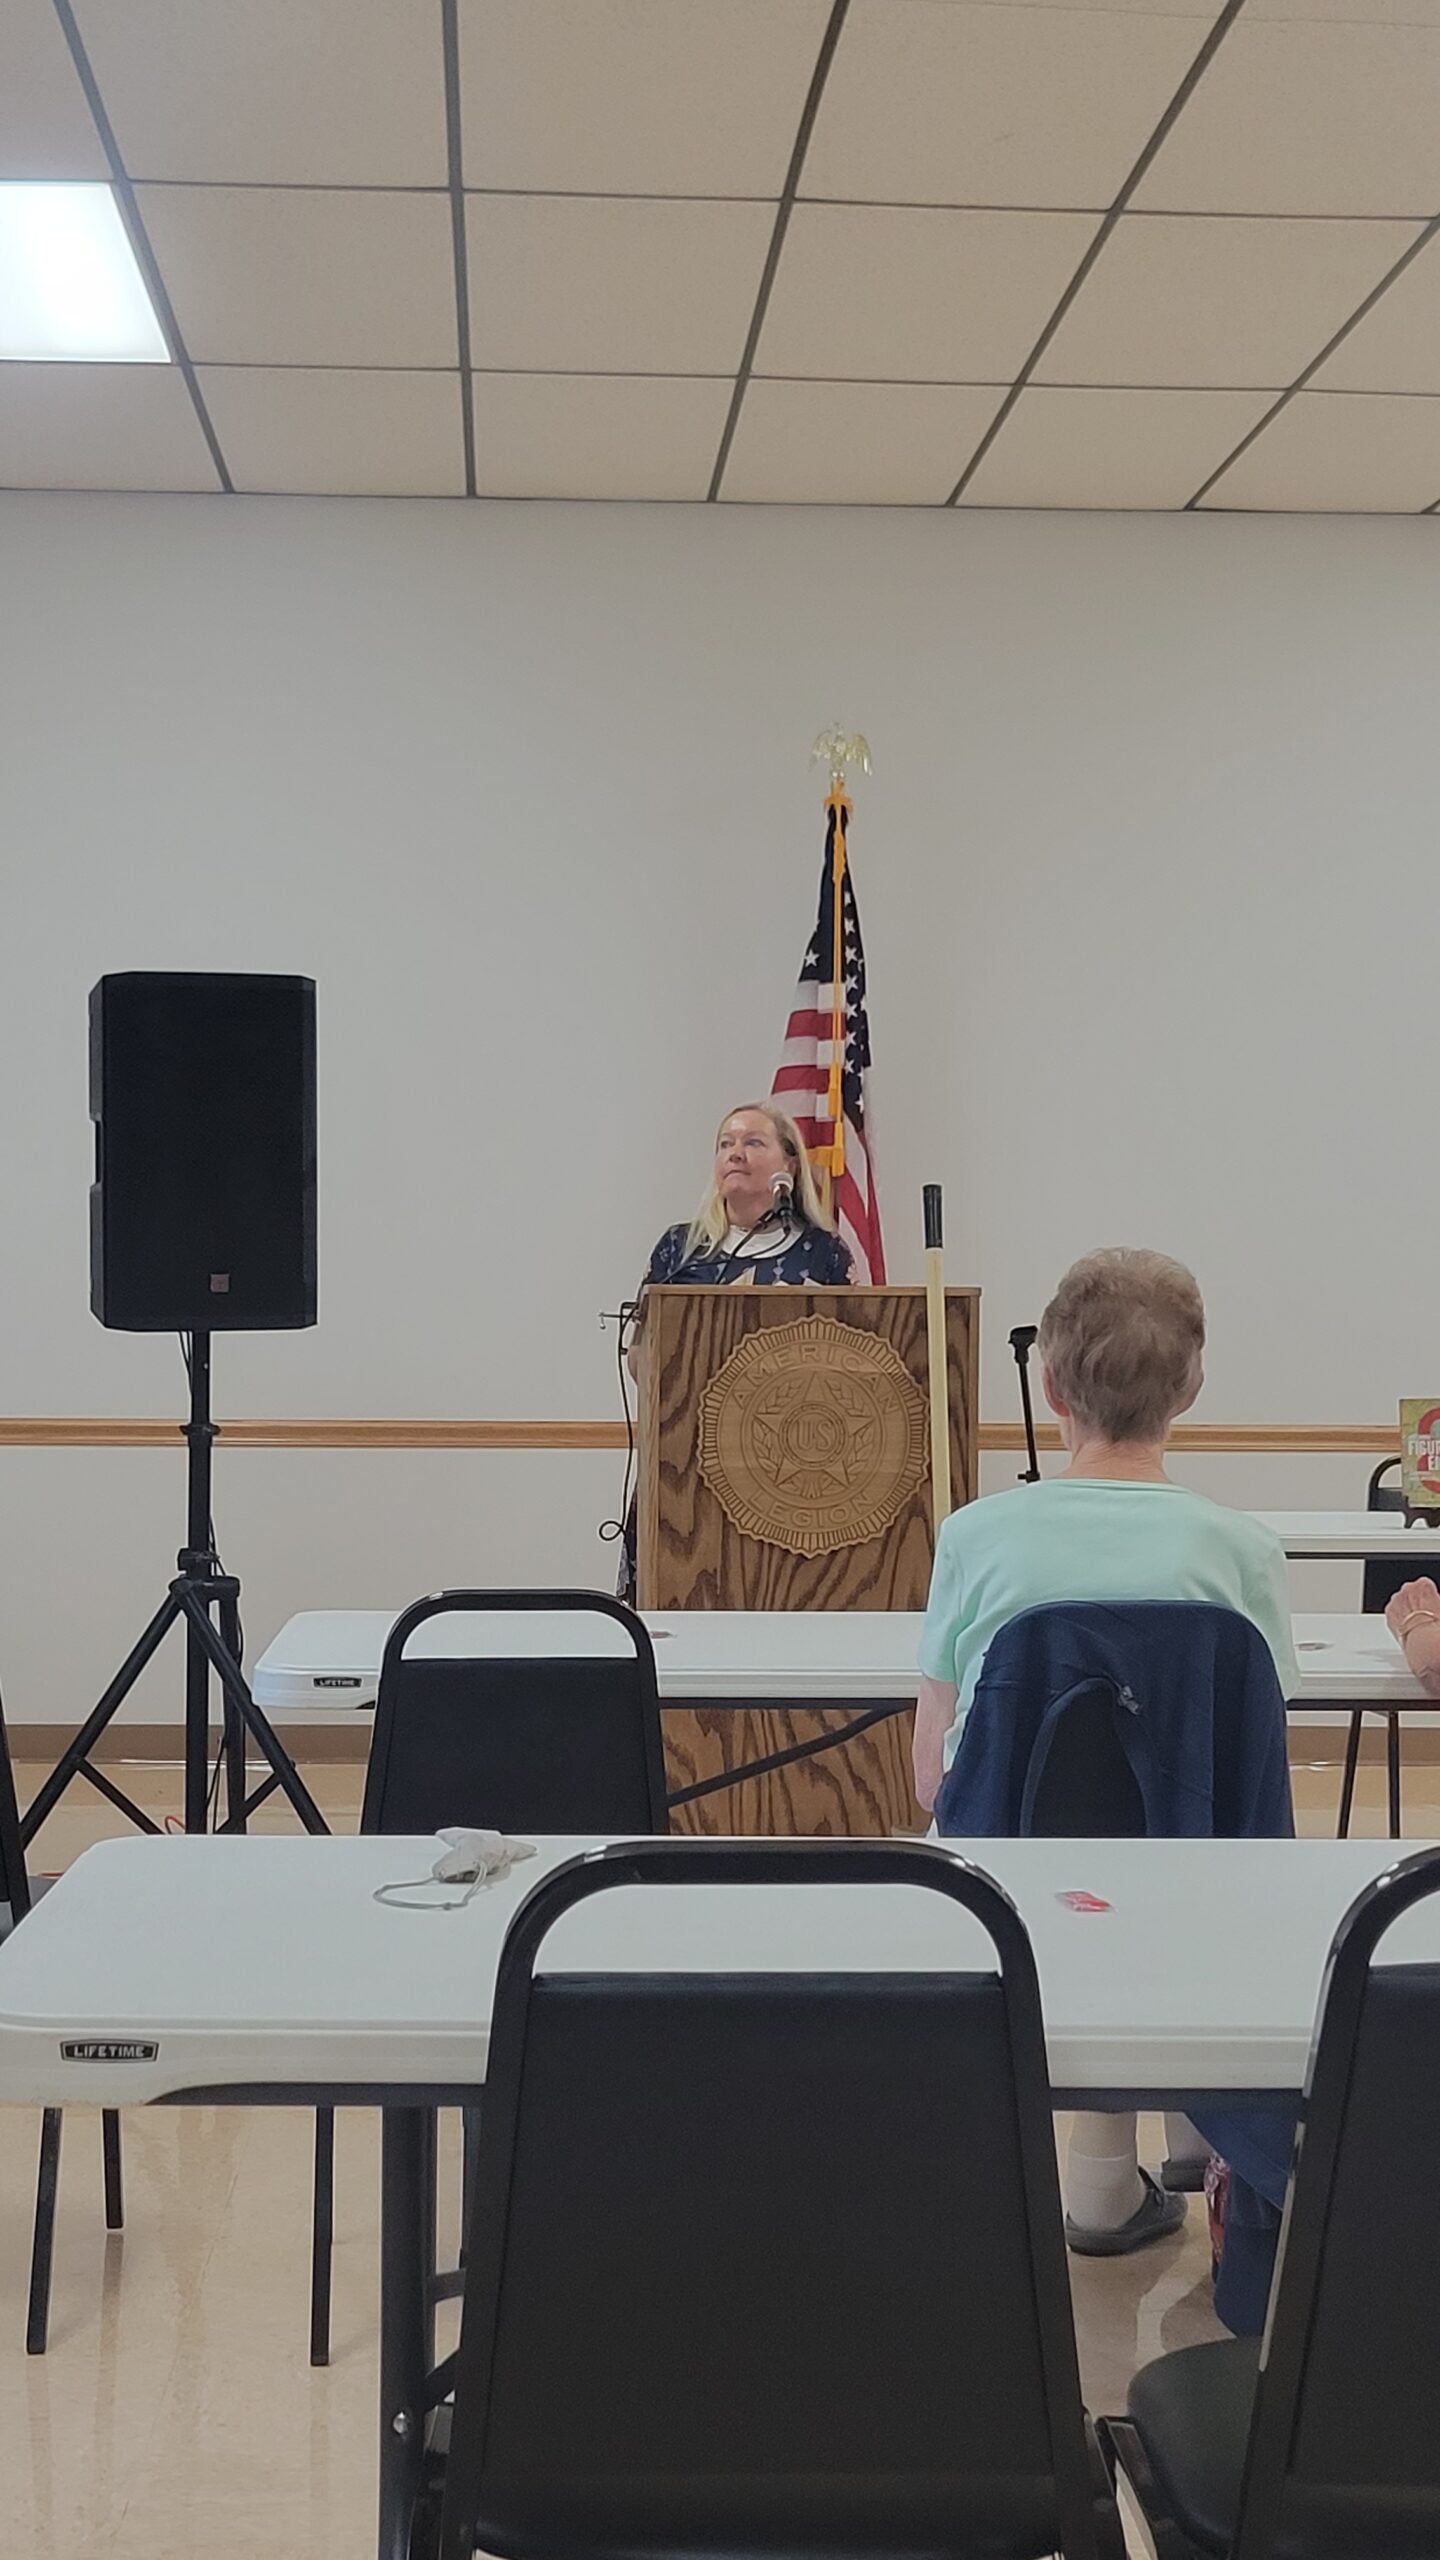
We at the Knutson Memorial Library were thrilled to be a part of the 7th Annual Vernon County Reads event.

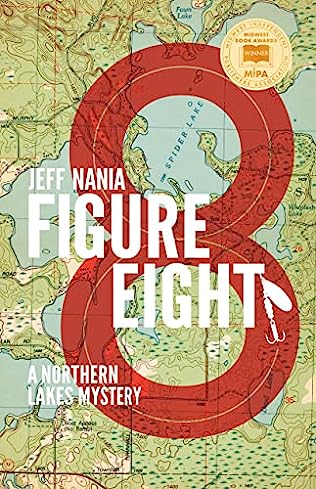
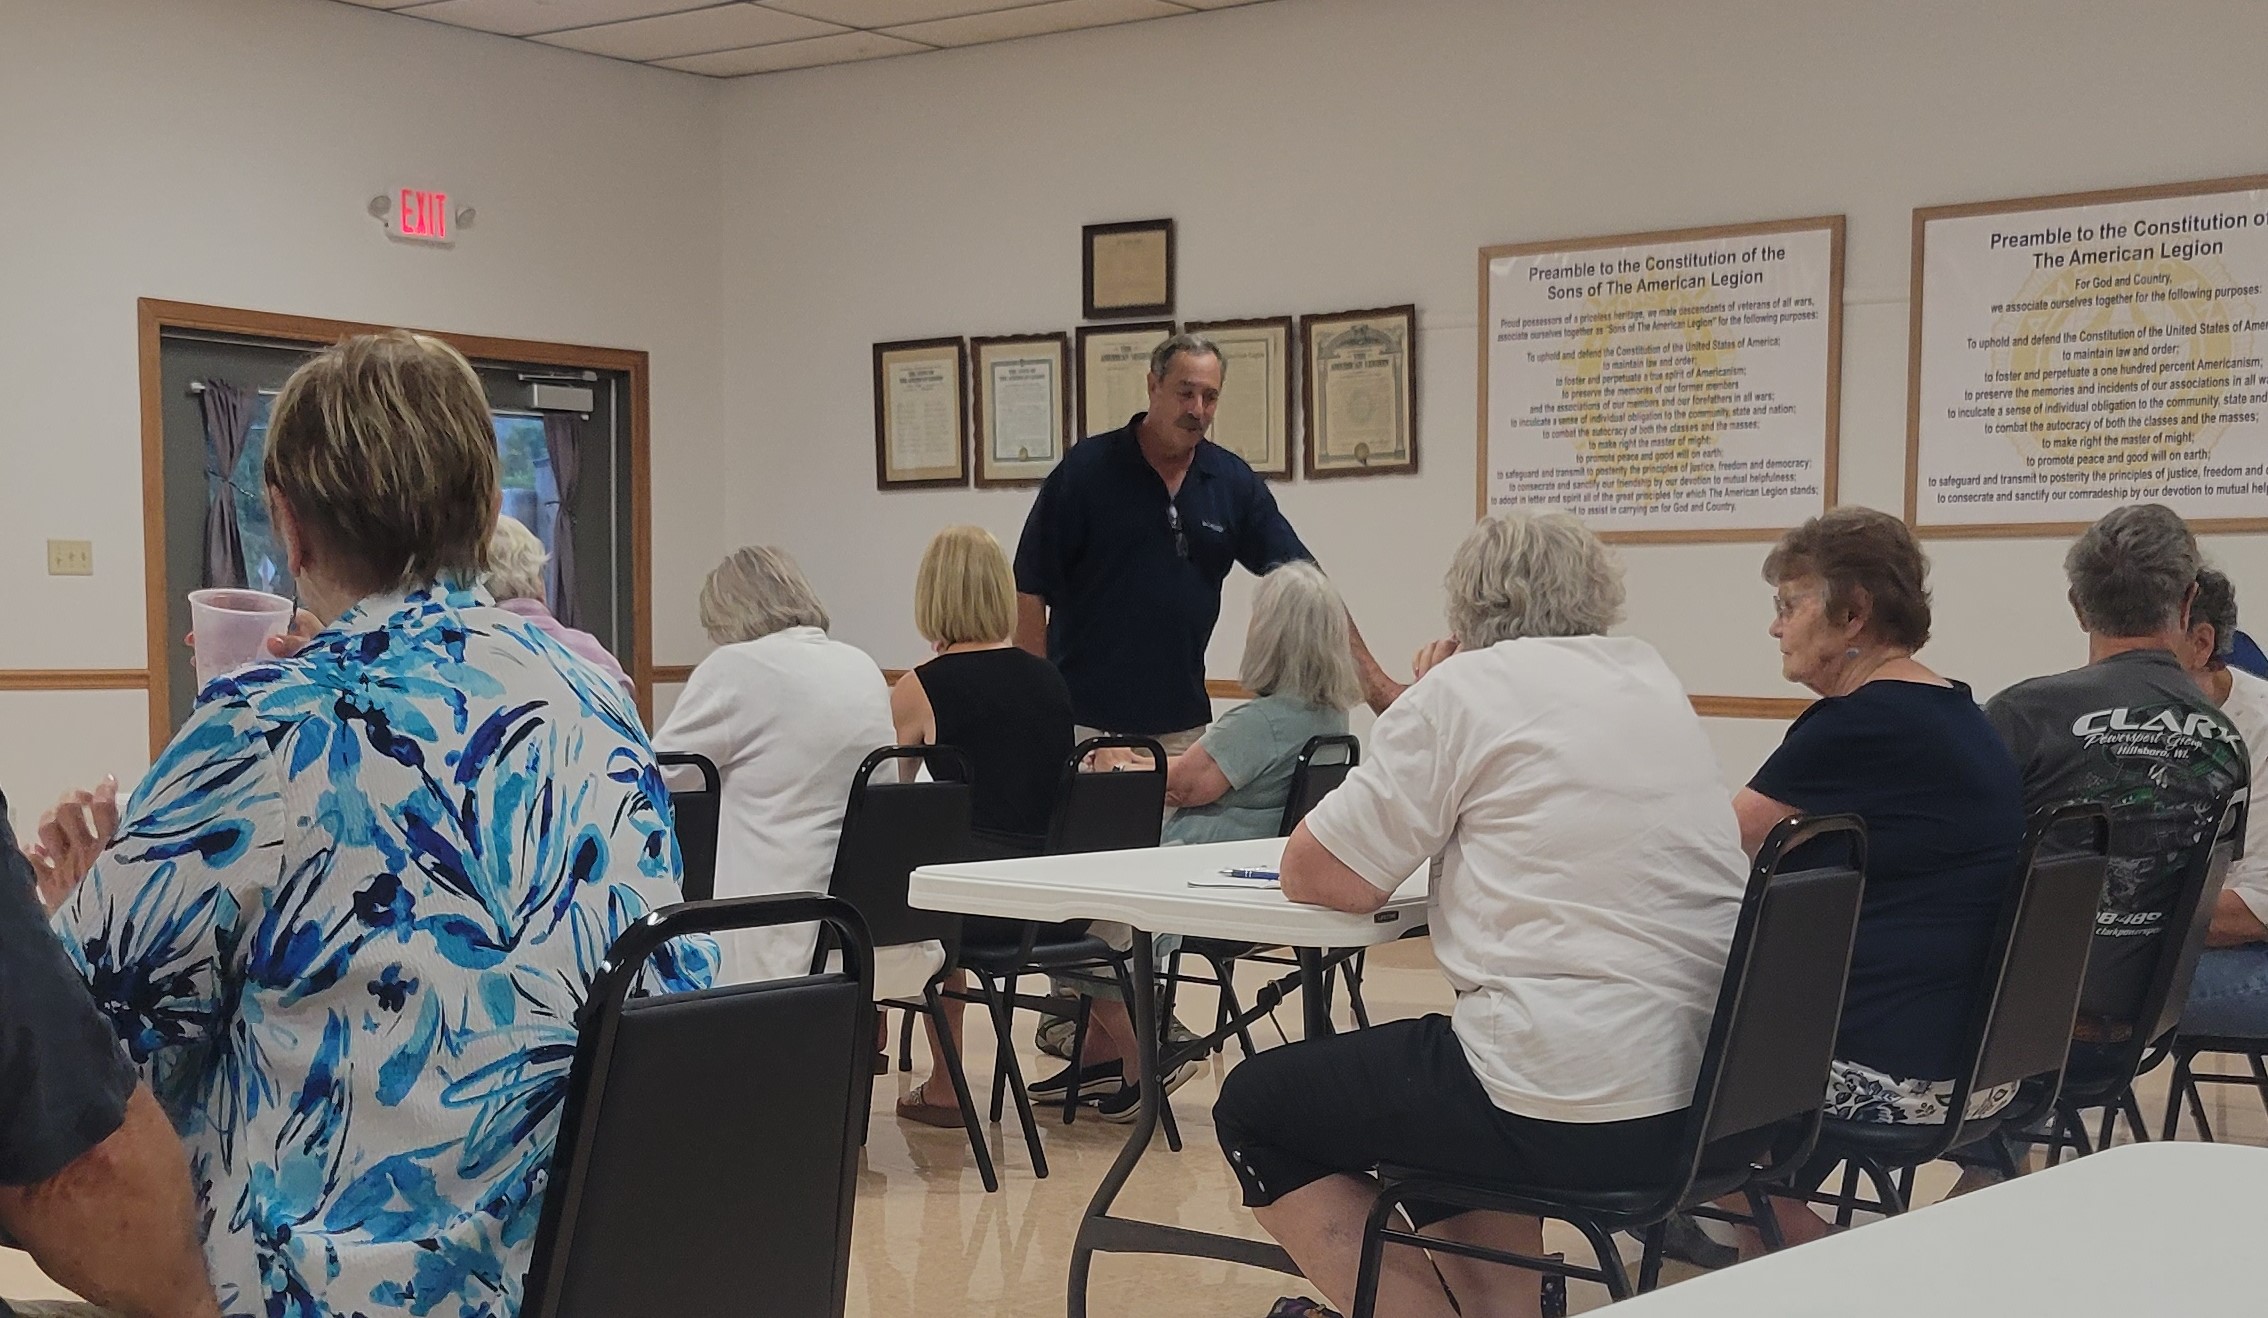
Thursday night author Jeff Nania captivated and inspired his audience with tales of his life and the land. Celebrating and protecting the natural beauty of Wisconsin is a key component of Nania’s Northern Lakes Mystery series. Woven throughout the author’s talk were moments that clearly inspired the events of his novels. From the shovel speech to stories of Aldo Leopold, each anecdote was a call to action for listeners to put in the hard work themselves to appreciate and perserve our enviroment.

Nania was excited to learn of our community’s 90th anniversary celebration of the Coon Creek Watershed Project, which Linda Schulte shared with the author during the q & a section.

Thank you to our fellow Vernon County libraries, the Driftless Writing Center, the Coon Valley American Legion, Jeff Nania, and to everyone else who made this event a success.

Get Painting! 8 Creativebug Classes that are a Stroke of Genius

looking for new and fun painting ideas? Here are eight Creativebug Classes sure to get your creativity flowing!

Did you know that you can access a whole host of online crafting classes for free with your library card? Follow this link to create an account using your Winding Rivers Library Card. https://www.creativebug.com/lib/wrls

We hope this list will inspire you do some crafting of your own.

First up is this imaginative class using acrylic ink. 

Artist, instructor, and textile enthusiast Missy Dunaway explores why we collect textiles, where they come from, and what can they teach us as artists, all through the medium of acrylic ink. In this class you’ll follow along in order to capture and recreate heirloom textiles of your own, using the examples of a quilt, a carpet, and a scarf.”

Looking for something a bit more challenging? This class takes an in-depth look at recreating beautiful scenes using acrylic ink. 

“In this class, Missy works with acrylic ink to render two complex scenes that capture the romance and nostalgia of the moment. In each painting, she mixes nuanced shades from a limited selection of colors and works in loads of detail. Missy shares her technique for mixing ink on the page, pushing and pulling elements until reaching the desired effect. Finally, she shows how to re-evaluate the darks and lights to pull the image into dazzling balance.”

Discover the wonders of intuitive painting with abstract artist Flora Bowley in this three part series on Creativebug! From gathering inspiration, to creating your masterpiece this class takes you step by step through the process. 

“Immerse yourself in the world of abstract artist and intuitive painter Flora Bowley.  In this epic three-part course, you’ll not only learn how to observe the world around you and tap into your creative intuition, but also how to take a brave, curious and open-minded approach to painting with acrylics.”

Are you a total beginner? Start here!

Feeling artistic but intimidated because you don’t think you can draw? Molly shares her process of creating a piece of art based on found imagery. She covers where to source material as well as how to group and gather elements into a painting. The final image is translated through your own hand – with all the artistic charm and none of the self-doubt that too often creeps into creating art.”

Create a striking design with ease by following this watercolor class!

“This project appeals to a range of personalities, since you can be loose with creating the watercolor effect and then add structure with a crisp silhouette. Christine shows you different watercolor techniques to build texture and dimension, from layered washes to dry brushing and splattering. The result is a fresh update on the classically Victorian way to capture the likeness of someone you adore.”

Learn how to capture the beauty of nature through watercolor!

“Be inspired by images of the outdoors or pull from your own travel photography in this landscape painting class, taught by artist Kristy Rice. Learn how to visually break down a landscape into three separate planes and paint them using watercolor washes. Then, add detail and dimension with watercolor pens. Whether you’re an avid traveler or love to paint from reference, Kristy demonstrates how to infuse your brushstrokes with emotion in order to capture the feeling of a place.”

Have you always wanted to try oil painting? Start with this class!

“Oil painter, Erika Lee Sears, creates an original piece of art everyday. She breaks down the age-old tradition of oil painting and makes it easy and accessible, from mixing colors, to playing with shadows and light, to the final varnish. Whether you’re a curious beginner or seasoned painter, there will be tips and tricks in this crash course for everyone.”

Here is another great three part class for those just getting into painting.

Get a firm foundation in acrylic painting with this fun three-part series taught by artist and professor Lisa Solomon. Lisa covers the basics of Acrylic Painting for Beginners, from learning about different tools and brushstrokes to creating your very own masterpiece. This class is chock-full of information, so grab your paints and get ready for an engaging journey in Acrylics 101.”

August What’s Cooking Recap with Recipes!

Missed this month’s cooking group? Forgot to grab your favorite recipe of the night? Well you are in luck, we have compiled the recipes from this month’s event! Try them out for yourself.


Almond Curls or Fortune Cookies


Ingredients:

3/4 cup unbeaten egg whites: 5 to 6

1 2/3 cups sugar

1/4 teaspoon salt


1 cup melted butter.

1 cup all-purpose flour

¾ cup finely ground blanched almonds

½ teaspoon vanilla or 1 tablespoon lemon juice

Instructions:

  1. Print your remarks on thin papers, 3 x ¾ to 1 inch in size.
  2. Preheat oven to 350 degrees.
  3. Combine and mix together egg whites, sugar, and salt until sugar is dissolved.
  4. Stir in separately the remaining ingredients and beat until well blended.
  5. Drop the dough in tablespoonfuls well apart onto a greased baking sheet.
  6. Bake for 10 minutes or until the edges are golden brown, mold cookie over a wooden spoon handle.
  7. After the cookies are curled, insert a slip in each, letting part of the paper project. Pinch the ends of the roll closed while the cookie is still warm.

 ​

Cabbage Salad


Ingredients:

1# Cabbage

2 pkg. Ramen Noodles (Crumbled)

1 bunch green onions – chopped.

½ # sunflower seeds


½ cup canola oil

1/3 cup vinegar

½ cup sugar

Season packets from noodles

Instructions:

  1. Mix together the cabbage, ramen noodles, green onions, and sunflower seeds in a large bowl.
  2. For the dressing combine canola oil, vinegar, sugar and season packets, and pour over noodles.


Asian Corn on the Cob with Garlic Sauce


Ingredients:

¼ cup soy sauce

¼ cup rice vinegar

1 tablespoon brown sugar

1 pinch cayenne pepper

2 cloves garlic


Chocolate-Peanut Butter Chinese Noodles


Ingredients

2 cups chocolate chips

6 cups Chinese noodles

2 cups peanut butter

Instructions

  1. Melt chips in a microwavable bowl.
  2. Stir every 30 – 40 seconds until melted.
  3. Add noodles and stir until coated.
  4. Scoop onto cookie sheet lined with wax paper.


Thai Satay Chicken with Peanut Sauce


Ingredients

2 pounds chicken breasts or thighs* sliced into 1 1/2inch wide strips by 3-5 inch long.

3 tablespoons olive oil

1/4 cup coconut milk plus more as needed (may sub water)

1/3-1/2 cup smooth peanut butter

15-30 skewers

Marinade/Sauce:

1/4 cup low sodium soy sauce (or Tamari sauce if you want it to be gluten free)

1/4 cup packed brown sugar.

1 tablespoon chili paste (like Sambal Oelek)

1 1/2 tablespoons lime juice

1 1/2 tablespoons fish sauce – not fishy tasting, but quite salty

1 teaspoon dried basil

1 teaspoon ground coriander

1/2 teaspoon ground ginger

1/2 teaspoon garlic powder

1/2 teaspoon ground turmeric

Instructions:

  1. Whisk together the Marinade/Sauce ingredients in a medium bowl. Remove ⅓ cup to a freezer size bag and whisk in 3 tablespoons olive oil (for the marinade). Add chicken and toss to evenly coat. Marinate in the refrigerator for 6 hours up to overnight. Refrigerate remaining marinade/sauce separately – this will become the base of your Peanut Sauce.
  2. When ready to cook, soak wooden skewers in water for at least 30 minutes. Meanwhile, remove chicken from fridge to bring to room temperature, thread chicken onto skewers and lightly dab excess marinade off with paper towels.
  3. Grease an indoor or outdoor grill and heat to high heat. Once hot, add chicken, reduce heat to medium, cover and grill chicken 3-4 minutes per side, or until chicken is cooked through (internal temp of 165 degrees F).
  4. Add reserved Sauce to a small saucepan along with ¼ cup coconut milk OR 3 tablespoons water. Bring to a boil then simmer for 1 minute. Remove from heat then stir in ⅓ cup peanut butter until completely combined then add additional peanut butter if desired for a thicker/more nutty sauce OR water or coconut milk 1 tablespoon at a time for a thinner sauce. Taste and add additional chili sauce if desired for a spicier sauce.
  5. Serve chicken warm with Peanut Sauce for an appetizer or also serve with rice/veggies for a main course.


Moo Goo Gai Pan (Chicken & Vegetable Stir Fry)


Ingredients

2 boneless, skinless chicken breasts, sliced across the grain in ¼ inch slices.

2 egg whites

1 tablespoon cornstarch


1 cup sliced carrots.

1 cup sliced mushrooms.

2 cups snow peas/ sugar snap peas

1 onion, sliced and chipped into coarse pieces.

1 8 oz. can water chestnuts, drain.

1 8 oz. can bamboo shoots, drained


Sauce:

1 cup chicken stock

1 tablespoon brown sugar

2-3 tablespoons soy sauce

1 tablespoon sesame oil

1 tablespoon oyster sauce

4 teaspoons minced garlic (or 1 teaspoon garlic powder)

2 teaspoons minced ginger (or ½ teaspoon powdered ginger)

1 tablespoon cornstarch

Instructions

  1. Whisk together the egg whites and cornstarch.
  2. Add the chicken slices and toss to coat.
  3. Refrigerate for 30 minutes.
  4. Drain chicken and discard excess liquid.
  5. In a large skillet, heat 1 tablespoon of oil over medium high heat. Add carrots and onion and a tablespoon of water. Cook for 2-3 minutes, stirring frequently.
  6. Add mushrooms and cook for 3-4 minutes until mushrooms are browned and tender.
  7. Add snow peas and cook for 1-2 minutes more. Stir in the water chestnuts and bamboo shoots. Season with salt and pepper to taste.
  8. Remove vegetables from pan and cover them to keep warm. Return the pan to heat and add 2 tablespoons of oil and the drained chicken. Cook, stirring frequently, until chicken is cooked through and nicely browned.
  9. Whisk together the ingredients for the sauce. Return vegetables to pan with chicken and teat through. Add sauce and cook until sauce begins to thicken.
  10. Serve immediately, over rice, if desired.

We hope you enjoyed this month’s What’s Cooking and don’t forget to join us next month on September 19th at 5:30 pm!

July What’s Cooking Recap with Recipes!

Missed this month’s cooking group? Forgot to grab your favorite recipe of the night? Well you are in luck, we have compiled the recipes from this month’s event! Try them out for yourself.

Blueberry Cream Cheese Coffee Cake

Ingredients:

1% cup flour

3/4 cup butter at room temp

1/2—3/4 cup of sugar

12 tsp salt

1 egg

3/4 cup buttermilk

1/2 tsp baking soda

1/2 tsp baking powder

1 tsp vanilla

Cream Cheese Layer:

8 oz cream cheese, softened.

1/4-1/3 c sugar

1 egg

1 tsp vanilla

2 cups fresh blueberries

Glaze

1 1/2 cups powdered sugar.

1-2 T milk

Instructions:

  1. Preheat oven to 350* & line 8 1/2 X 11 or 9 X13 pan with foil & grease.
  2. In a large bowl, combine flour, butter, sugar & salt until fully combined. It will be crumbly. Measure out one cup and set aside for topping.
  3. To the remaining batter, add egg, buttermilk, baking soda, baking powder and vanilla.
  4. Pour batter into pan and smooth to make sure it’s even.
  5. In a small bowl, beat cream cheese & sugar together until smooth & combined.
  6. Add egg and vanilla and mix until fully incorporated.
  7. Pour on top of the cake layer.
  8. Top with blueberries & sprinkle remaining flour mixture on top for the crumbs
  9. Bake 45-50 minutes or until the center no longer giggles. Don’t test with toothpick.
  10. Cool completely before topping with glaze.

Peach and Blueberry Pie with a Gluten Free Crust

Gluten Free Single Crust Pie Dough

Ingredients:

3 tablespoons ice water

1 1/2 tablespoons sour cream

1 /2 teaspoons rice vinegar

6 1/2 ounces (3/4 cup plus 2/3 cup) America’s Test Kitchen All-Purpose Gluten-Free Flour Blend

1 1/2 tsp sugar

1/2 tsp salt

1 tsp xanthan gum

8 tablespoons unsalted butter, cut into 1/4-inch pieces and frozen for 10 to 15 minutes.

Before You Begin:

Like conventional recipes, this pie dough can be prepared in advance and refrigerated for 2 days; however, it is not sturdy enough to withstand freezing. Do not omit the xanthan gum; it is crucial to the structure of the pie dough. If not using the test kitchen’s flour blend, you can substitute either 2/3 cup plus 1/2 cup King Arthur Gluten-Free Multi-

Purpose Flour, or 1 1/3 cups of Betty Crocker All-Purpose Gluten Free Rice Blend. Note that pie dough made with King Arthur will be less sturdy. Do not omit the xanthan gum; it is crucial to the structure of the pie dough.

Instructions:

  1. Combine ice water, sour cream, and vinegar together in bowl. Process flour blend, sugar, salt, and xanthan gum together in food processor until combined, about 5 seconds. Scatter butter over top and pulse until crumbs look uniform and distinct pieces of butter are no longer visible, 20 to 30 pulses.
  2. Pour sour cream mixture over flour mixture and pulse until dough comes together in large pieces around blade, about 20 pulses.
  3. Turn dough onto sheet of plastic wrap and flatten into 5-inch disk. Wrap tightly in plastic and refrigerate for at least 1 hour or up to 2 days. Before rolling out dough, let it sit on counter to soften slightly, about 30 minutes. (Dough cannot be frozen.)
  4. Roll dough into 12-inch circle between 2 large sheets of plastic wrap. Remove top plastic, gently invert dough over 9-inch pie plate, and ease dough into plate. Remove remaining plastic and trim dough 1/2 inch beyond lip of pie plate. Tuck overhanging dough under itself to be flush with edge of pie plate. Crimp dough evenly around edge using your fingers. Cover loosely with plastic and freeze until chilled, about 15 minutes.
  5. Adjust oven rack to lower-middle position and heat oven to 375 degrees. Bake crust until crisp and golden, 25 to 35 minutes, rotating pie plate halfway through baking. Remove crust from oven and let cool slightly. (Crust can be held at room temperature for up to 1 day before filling.)

Peach and Blueberry Pie

Ingredients:

2 28 oz. cans of sliced peaches, reserve juice from one can

1 heaping cup fresh blueberries

3/4 cup brown sugar

3 tablespoons cornstarch

3/4 tsp cinnamon

1/8 tsp allspice

1/2 tsp salt

2 tablespoons orange juice

1 tsp vanilla

Instructions:

Prepare the Crust

  1. Make the pie dough of your choice, or use a store-bought pie crust, enough for a top and bottom crust. Set crust in the fridge to chill while you make the filling.

Make the Filling

  1. Drain 3 can of peaches, reserving the juice from one can. Add to a large bowl.
  2. In the bowl, mix together the reserved peach juice with orange juice and vanilla. Add cornstarch and mix until fully dissolved.
  3. Add brown sugar, cinnamon, allspice, salt, and cornstarch mix to the peaches. Add the blueberries. Alternatively, you could add the blueberries after the peach mixture has been heated in the next step. Mix well.
  4. Transfer to a pan or pot on the stove and cook over medium heat for 15 minutes or until the filling has thickened. Set aside to cool.

Assemble the Pie

  1. Roll out the pie crust and place it in the bottom of your pie pan. Prick the crust with a fork to allow steam to escape. Trim excess crust if needed.
  2. Pour the cooled peach pie filling into the pie crust. Cover with another pie, crust, using whatever design you like. Brush the with milk and sprinkle with sugar if you desire.
  3. Place the pie in the fridge while your oven preheats.

Bake the Pie

  1. Preheat the oven to 425 F.
  2. Bake for 15 minutes. Then, without opening the oven door, lower the temperature to 350 F and bake for 40-50 minutes or until the crust is golden brown and the filling is bubbling.
  3. Remove the pie from the oven and place it on a wire rack to cool. For the best results, let the pie cool completely before slicing it into it.

Chocolate Eclair Cake

Ingredients:

1 cup water

1/2 cup butter

1 cup flour

4 large eggs

1 (8 ounce) package cream cheese, softened

1 large box (5.1 ounces) vanilla instant pudding

3 cups milk

1 8 oz. container cool whip (you won’t use the whole container) or one batch of homemade whipped cream. chocolate syrup or homemade chocolate sauce

Instructions:

Preheat oven to 400. Lightly grease a 9″x13″ glass baking pan

Eclair Crust

  1. In a medium saucepan, melt butter in water and bring to a boil, Remove from heat. Stir in flour- Mix in before adding another egg.
  2. Spread mixture into pan, covering the bottom and sides evenly. *If the sides of your pan are too greased you won’t be able to get the mixture to stay up the sides so make sure to just lightly grease.
  3. Bake for 30-40 minutes or until golden brown (Mine only took 25 minutes.) You may want to check it occasionally. You don’t want to overcook the crust; it will ruin the cake!
  4. Remove from oven and let cool. Don’t touch or bush bubbles down.

Filling

  1. Whip cream cheese in a medium bowl. In a separate bowl make vanilla pudding. Make sure pudding is thick before mixing in with cream cheese.
  2. Slowly add pudding to cream cheese, mixing until there are no-lumps. Let cool in fridge.
  3. When the crust is completely cooled, pour filling in. Top with a layer of cool whip however thick you want it and serve with chocolate syrup.

Waldorf Chicken Salad

Ingredients

½ cup chopped walnuts

3 cups chopped rotisserie chicken.

1 cup seedless red grapes, halved.

1 large gala apple diced.

1 cup diced celery.

½ cup mayonnaise

½ cup honey mustard

Salt and petter to taste

 Instructions

  1. Preheat oven to 350 degrees. Bake walnuts in a single layer in a shallow pan 6-8 minutes or until toasted and fragrant, stirring halfway through.
  2. Stir together chicken, next 5 ingredients, and walnuts. Add salt and pepper to taste.

Gooey Chip Bars

Ingredients

2 cups graham cracker crumbs

1 can (14 ounces) sweetened condensed milk.

1 cup (6 ounces) semisweet chocolate chips, divided.

1/2 cup chopped walnuts or pecans, optional.

Instructions:

  1. In a large bowl, combine cracker crumbs and milk. Stir in 1/2 cup chocolate chips and nuts if desired (batter will be very thick).
  2. Pat onto the bottom of a well-greased 8-in. square baking pan.
  3. Sprinkle with remaining chocolate chips.
  4. Bake at 350 degrees for 20-25 minutes or until golden brown.
  5. Cool on a wire rack; cut into bars

Healthy Peanut Butter Twix Bars (vegan & gluten free)

Ingredients

Shortbread Base

 ½ cups packed fine blanched almond flour

2 tablespoons melted and cooled coconut oil

2 tablespoons pure maple syrup

1/4 teaspoon salt

Peanut Butter Layer

2/3 cup drippy natural peanut butter

1/3 cup pure maple syrup

¼ cup coconut oil

1 teaspoon vanilla extract

¼ teaspoon sea salt 

Chocolate layer

¾ cup chocolate chips, dairy free if desired

1 tablespoon coconut oil

Instructions

  1. Preheat oven to 350 degrees F. Line an 8×8 inch pan with parchment paper. Its important to use an 8×8 inch as a 9×9 inch pan may be too big.
  2. In a medium bowl add the almond flour, coconut oil, maple syrup, vanilla extract, and salt. Mix together with a fork until it forms a nice thick crumb texture. Add to pan and use your fingers to evenly press down into the pan. Bake for 10 minutes. Allow crust to cool for 10 minutes before adding caramel.
  3. Next make the peanut butter caramel layer. Add the peanut butter, maple syrup, coconut oil, vanilla extract and sea salt to a medium pot and place over medium-low heat for approximately 2 minutes until caramel starts to slightly bubble, stirring frequently. Pour over slightly cooled crust.
  4. Place in fridge for at least 30 minutes- 1 hour to completely harden the peanut butter. It shouldn’t take longer than this but if you are impatient just place in freezer for 15-20 minutes, this should speed up the process.
  5. After 30 minutes or so make the chocolate layer. Add chocolate chips and coconut oil to a microwave safe bowl and microwave on high in 30 second increments, stirring in between until chocolate is completely melted. If you prefer you can also melt the chocolate and coconut oil in a small saucepan over low heat.
  6. Pour over the caramel layer and tile the pan side to side to evenly distribute the melted chocolate. Place in fridge for at least 20 minutes until chocolate is completely hardened and bars are cooled.
  7. Remove bars from pan and cut into 16 bars that resemble Twix bars. To do this, cut the entire pan of bars in half and then cut each half into 8 1-inch bars (not squares), so you’ll end up with 16 bars. Bars should be kept covered in the fridge until ready to serve.

Italian Chicken Skewers

Ingredients

1 package of frozen skinless chicken breasts

Marinade

1 medium onion chopped.

2 cloves garlic

¼ cup parsley

¼ cup tomato past

1 tablespoon balsamic vinegar

2 tablespoons vegetable oil

Instructions

  1. Cut chicken into strips or same size chunks and salt and pepper.
  2. For the marinade put ingredients in a blender and pulse until smooth. Add chicken in Ziploc bag and toss until evenly coated.
  3. Refrigerate for at least 1 hour or overnight.
  4. Grill until 165 degrees on thermometer. Serve as is or with barbeque sauce.

Deviled Eggs

Ingredients

Hard boiled eggs

Salad dressing

Mustard

Sweet pickle relish

Salt and pepper

Instructions

Hard Boiled Eggs

  1. Put eggs in cold water.
  2. Bring it to boil.
  3. Remove from heat and put cover on.
  4. Let set for 13 minutes.
  5. Cool with running water and let set in ice water for 1 hour.
  6. Remove from water and store in refrigerator for several hours

Deviled Eggs

  1. Peel eggs
  2. Cut in half lengthwise.
  3. Put yolks into bowl with salad dressing, mustard, sweet pickles relish, and salt and pepper. Mix well using a hand mixer.
  4. Scoop the yolk mixture back into egg whites and sprinkle tops with dill and/or paprika.

We hope you enjoyed this month’s What’s Cooking and don’t forget to join us next month for Asian cuisine on August 15th at 5:30pm!